Always dreamed of starting a garden? Me too! Here is an easy to follow, step by step guide on how to start a garden and watch it grow.
“How do I start gardening?” is definitely a question I once asked myself. When we moved to our sustainable home, I wasn’t brand new to gardening as I had a small one at our old house. But I had never had a “real” garden and was feeling pretty overwhelmed.
So if you’re wondering how to begin a garden, thinking you don’t even know where to start – I hear you. But gardening for beginners doesn’t have to be difficult. Because just like with any project you tackle around your home and yard, it seems much more manageable if you approach it in steps.
From deciding on what you want to plant and where you want to plant it, to weeding and maintaining your garden throughout the season, this post is meant to guide you through the process based on what has worked for me… and what hasn’t!
Keep reading to see my step by step garden starting advice, or skip ahead to whatever section best applies to where you’re at right now.
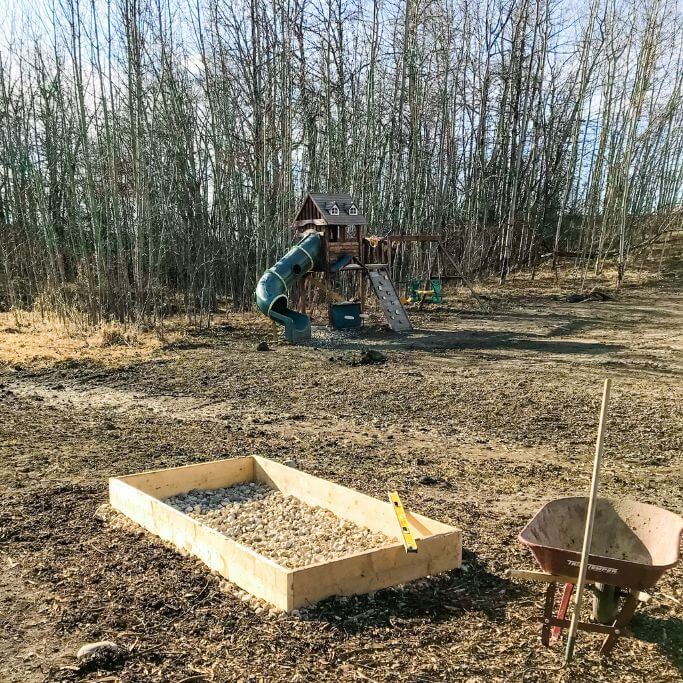
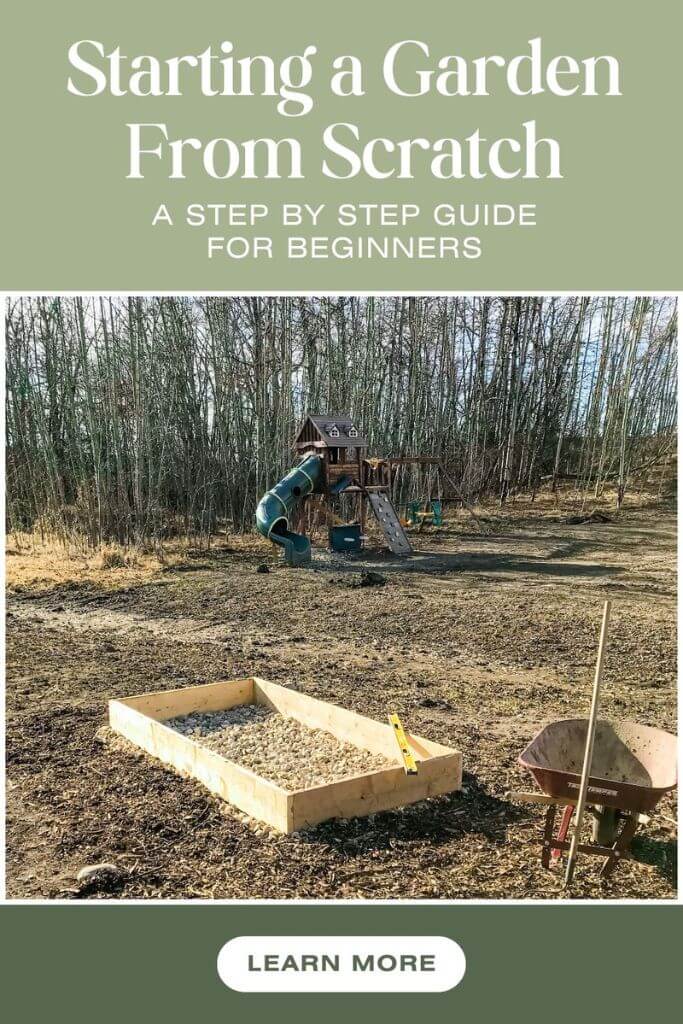
You can also scroll down to watch the video I created when we were first figuring out how to start up a garden. Check out my family and I choosing a spot, building raised beds, doing some landscaping – and planting trees too!
How to Begin Gardening: Choosing Your Garden Type
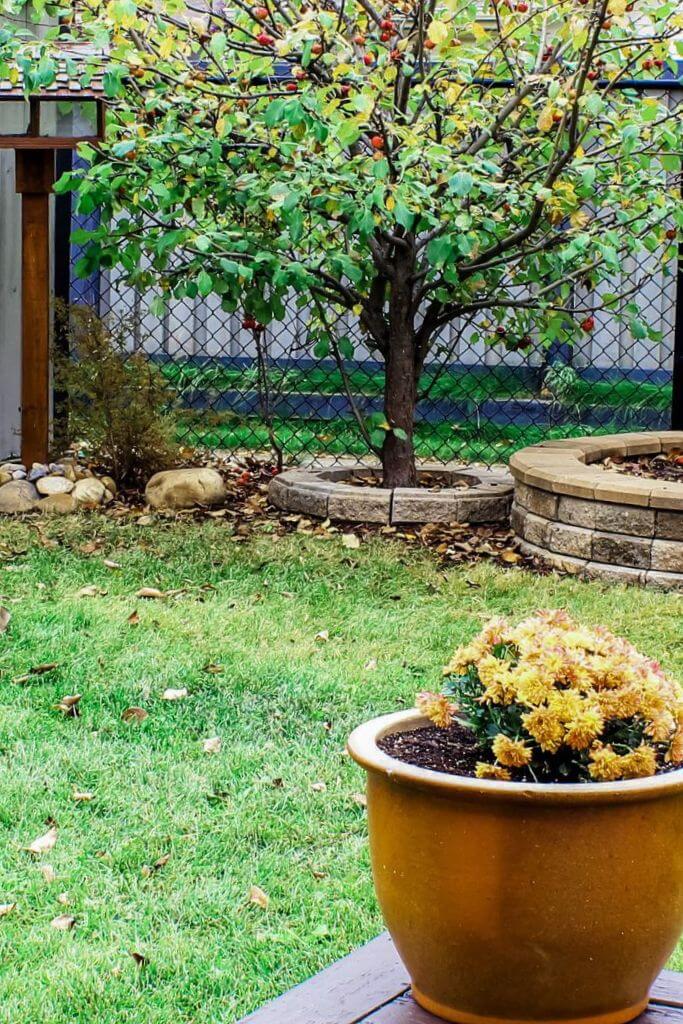
The first thing you need to decide is what type of garden you want to plant. Our garden is fully veggie, but of course many people enjoy a flower garden, an herb garden or a little bit of everything. A lot of the steps to getting started will be the same regardless of what type you decide on, but it’s good to know what your end goal is before you begin in case any special considerations need to be made.
For example, if you want to grow veggies then your garden will need to get a lot of sunlight during the day. Meanwhile, if you want a flower garden some flowers do better with a bit of shade. That being said, don’t get too stressed out if you’re not entirely sure. One of the many great things about gardening is you’re free to change your mind and evolve as time goes on. After all, it’s your garden!
In Ground vs Raised Beds vs Containers
Another choice you should make before getting started is what method of gardening you want to work with – meaning in-ground, raised bed, container gardening or a mixture of all three. For the most part this decision will be highly dependent on your outdoor space. If you live in an apartment and have a balcony as your outdoor space, then you aren’t going to have an in-ground garden.
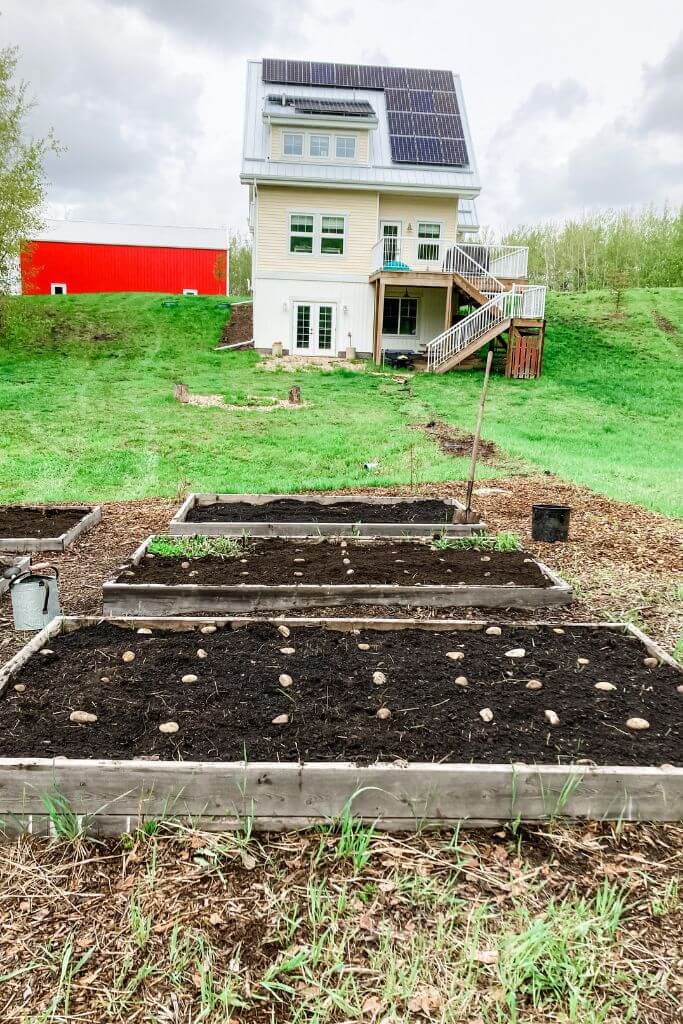
On the other side of things, just because you have a large yard doesn’t mean you have to have an in-ground garden. Perhaps growing things in containers seems more manageable to you. Or maybe you don’t want to – or can’t – dig into the ground, so building raised beds seems like your best bet. We started out with only raised beds and containers and now have a pretty good-sized in-ground garden as well.
Picking a Spot
What type of outdoor space you have is also going to play a large part in deciding where you’re going to place your garden. Using my apartment balcony example above, your only choice may be to line up pots along the edge of your outdoor space – and that’s totally fine! Lots of plants to really well in pots and sometimes better in pots than they do in the ground. (Tomatoes and peppers, I’m looking at you.)
If you have a yard, try to place your garden where it will get at last 6-8 hours of full sun every day. If your yard is mostly shady you should still be able to plant a variety of veggies and flowers. Just make sure you do your research before choosing your plants so you choose the ones that do well with less sun.


Preparing the Area
Time to get to work! If you’re going to be using containers, consider searching local buy and sells for secondhand ones, online for cool vintage pots or investing in some sustainably made planters. If you’re going to build raised beds, we built ours out of scrap wood and they’re still going strong almost four years later! If your plan is to do a traditional in-ground garden, there are two ways to go about prepping the area.
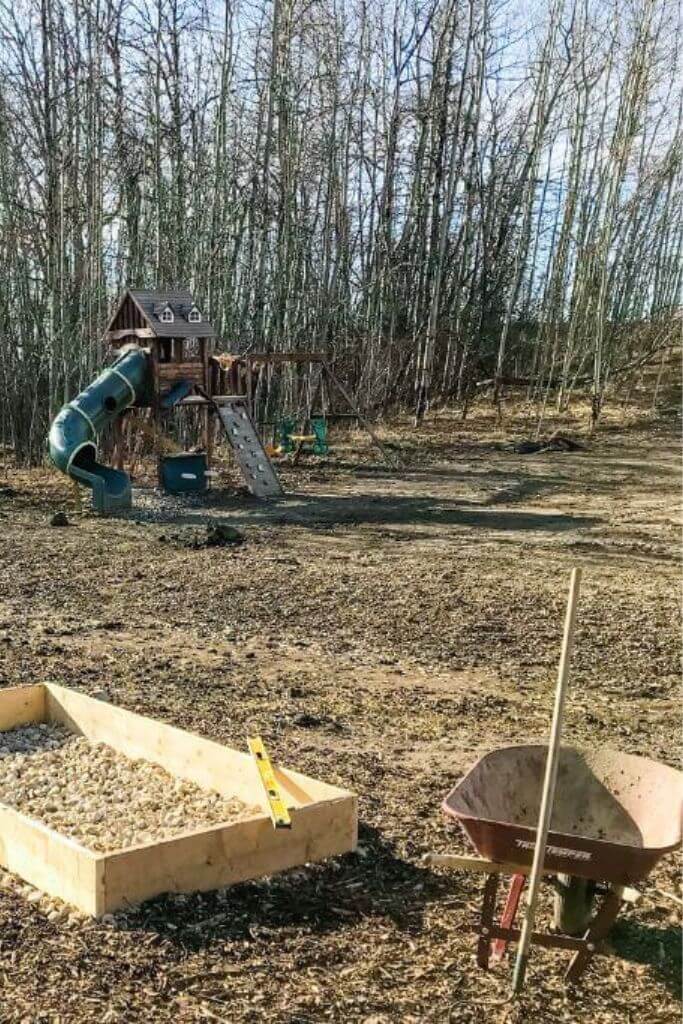
Your first option is to dig up any grass that you have growing in the area so you can access the soil underneath. Use a shovel to cut an outline of your garden. Then cut up the inside of the area so you can remove the sod in manageable sections. If you have more time, meaning it’s fall and you want to ready your garden for spring, you can follow the lasagna gardening method by adding newspaper or cardboard directly on top of the sod, followed by compost. By the time spring rolls around you’ll have a grass-free area to plant in!
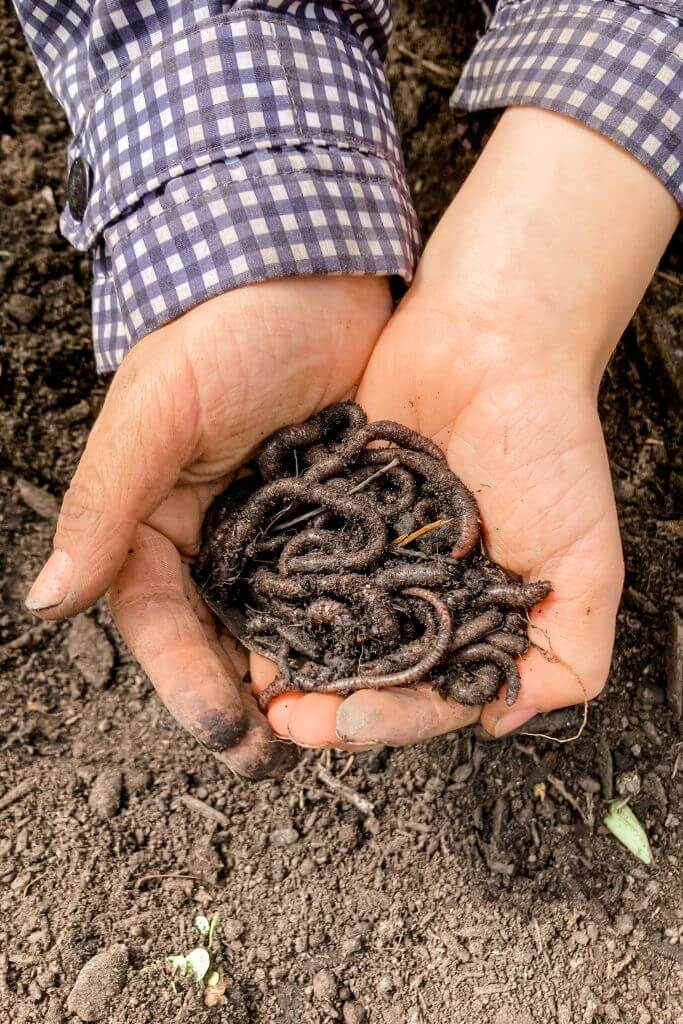
Preparing the Soil
Here is where I’m supposed to tell you to get your soil tested, but the truth is I’ve never actually tested mine! That being said, we do live in the country in an area known for having pretty good soil. If you live in a town or city, you may want to test your soil – especially if you live in a newer area. This is because whenever us humans disturb the ground, the soil’s natural structure is disturbed.
Of course, if you plan on bringing in soil to fill up your planters or raised beds this step doesn’t apply to you. But if you’re planning an in-ground garden and you decide to test your soil, here are a few things you should know. First, what you’re testing for in your soil is its pH level – meaning how acidic or alkaline it is. The ideal pH for most plants is between 6 and 7. If you test your soil and it’s too acidic (pH lower than 6) you can add garden lime to improv it. If it’s too alkaline (pH higher than 7), then add sulfur.
How to Start Planting
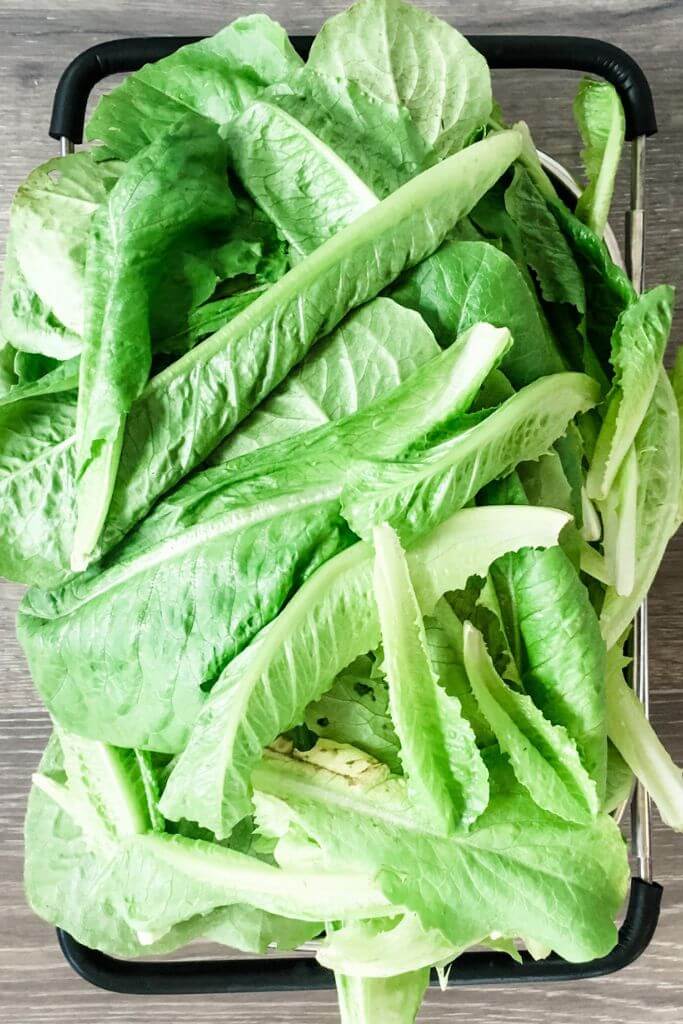
Hooray! Now that you’ve got your garden started, it’s time for the most fun part – planting! Now, if you followed this guide from the beginning, then you probably already have a good idea of what type of plants you want to grow. Or, maybe you just know you want to plant a vegetable garden, but aren’t sure what kind of veggies. I recommend starting with the easiest veggies to grow and – most importantly – the ones you know you and your loved ones are going to eat.
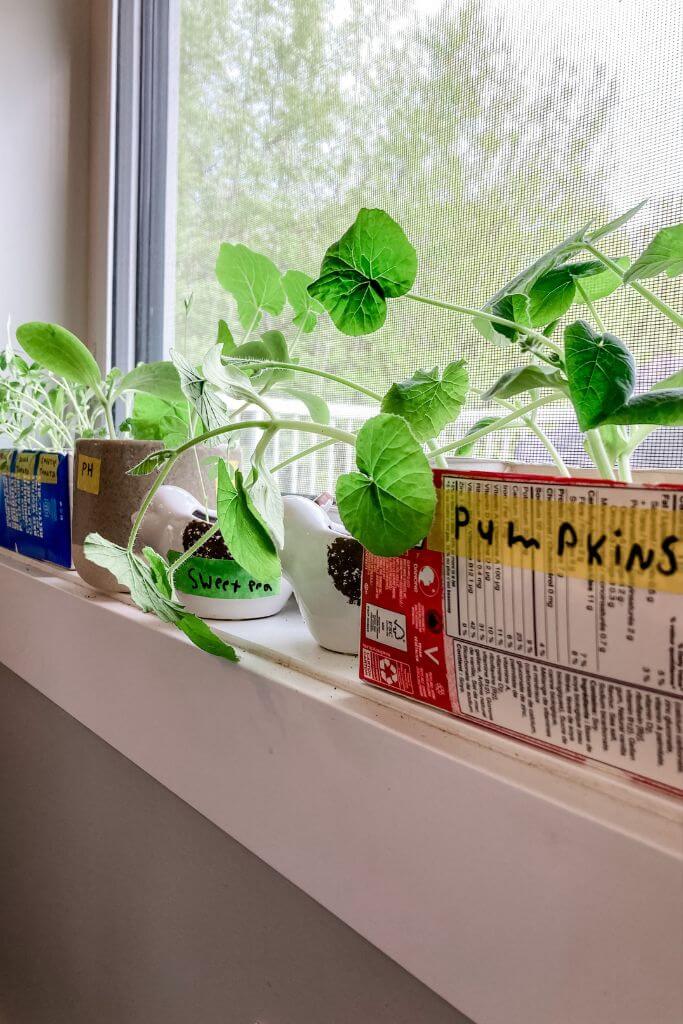
In my experience, the easiest veggies to grow straight from seed right in the garden are beans, carrots, lettuce, onions, potatoes, spinach and zucchini. Tomatoes and cucumbers are also easy to care for, but I’ve found that they do better if you either start them inside and transplant the seedlings intp your garden or buy seedlings from your local greenhouse. If you’re leaning more toward flowers, I would invest in some perennials to start because they come back every year!
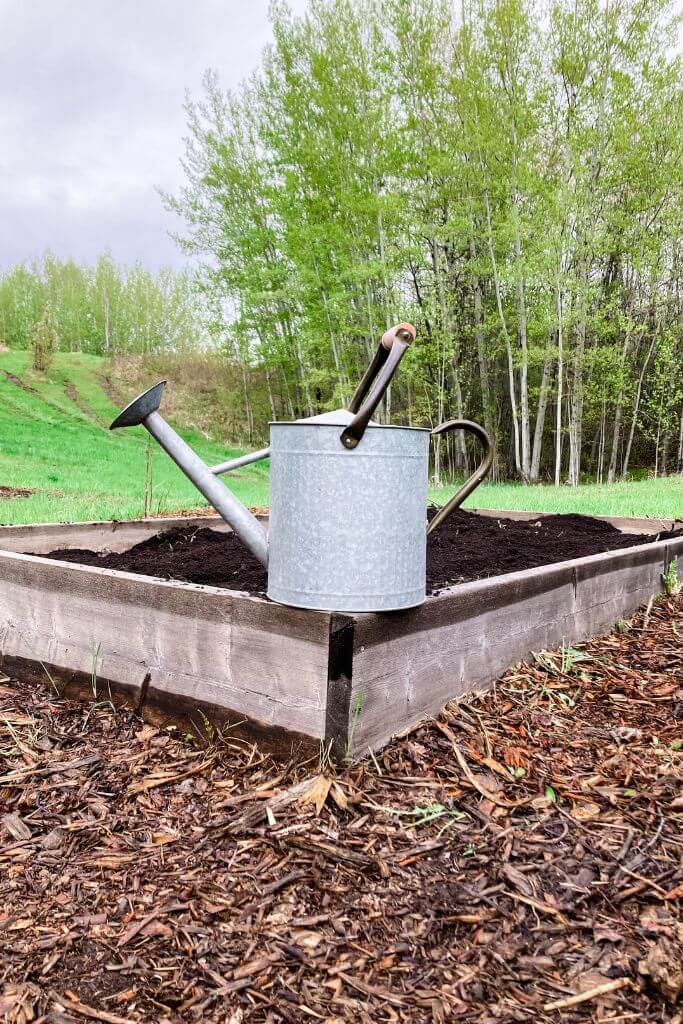
Tips for Watering Your First Garden
Now that your seeds and plants are happily living in your well-prepared garden, they of course need to be cared for. How often you water will depend on several factors. For example, if you get a lot of rain obviously Mother Nature is doing the job for you. If there’s a patch of overcast days your plants won’t dry out as fast. However, when they are little they do need to be kept consistently moist so they should be checked on every day.
Once your plants are more established you can probably ease off a bit. Keep in mind that plants in pots and raised beds tend to dry out faster than those in the ground. There also are certain plants that in my experience do not like to dry out at all so you have to keep on top of them. (Looking at you once again tomatoes and peppers.)
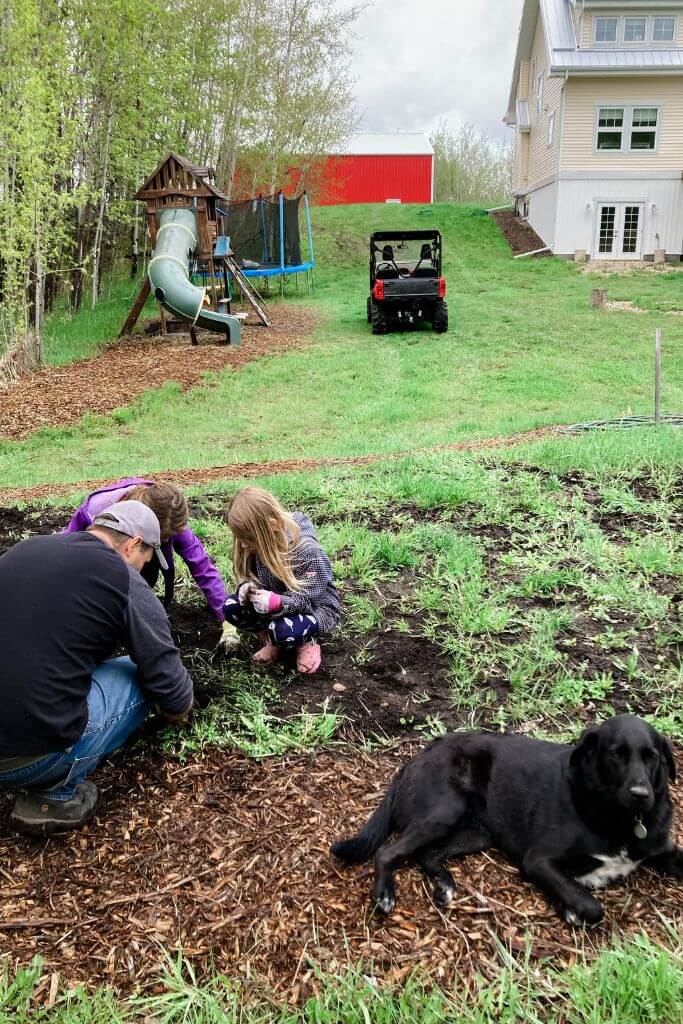
Weeding and Mulching
Is it weird if I say I hate weeds, but I like weeding? Meaning, the sight of weeds choking out my beautiful plants leaves me aghast, but the act of weeding itself can be quite soothing. I’ve found that it’s harder to pull weeds when they’re tiny and actually better if you let them grow to a size you can actually grab onto. I also try to do a bit of weeding every day so the task doesn’t feel too overwhelming.
As for mulching, it definitely helps keep the weeds down and the moisture in. But I would wait to lay it down until your seedlings are a few inches tall or they get kind of lost. We get free mulch from my husband’s work so we’ve never had to buy any. But like so many things it’s better to buy mulch in bulk. As for the type of mulch, any type of wood mulch that breaks down over the growing season is great because it helps to nourish the soil along with protecting it.
Thanks so much for reading! I truly hope this post answered all your questions on how to build a garden from the literal ground up. I may dabble in gardening and other outdoor living, but the home’s interior is my true jam. If you need help with your home’s interior, check out my e-design services!
PIN ME!
Reposted on May 11, 2024 (Originally Posted on August 1, 2020)