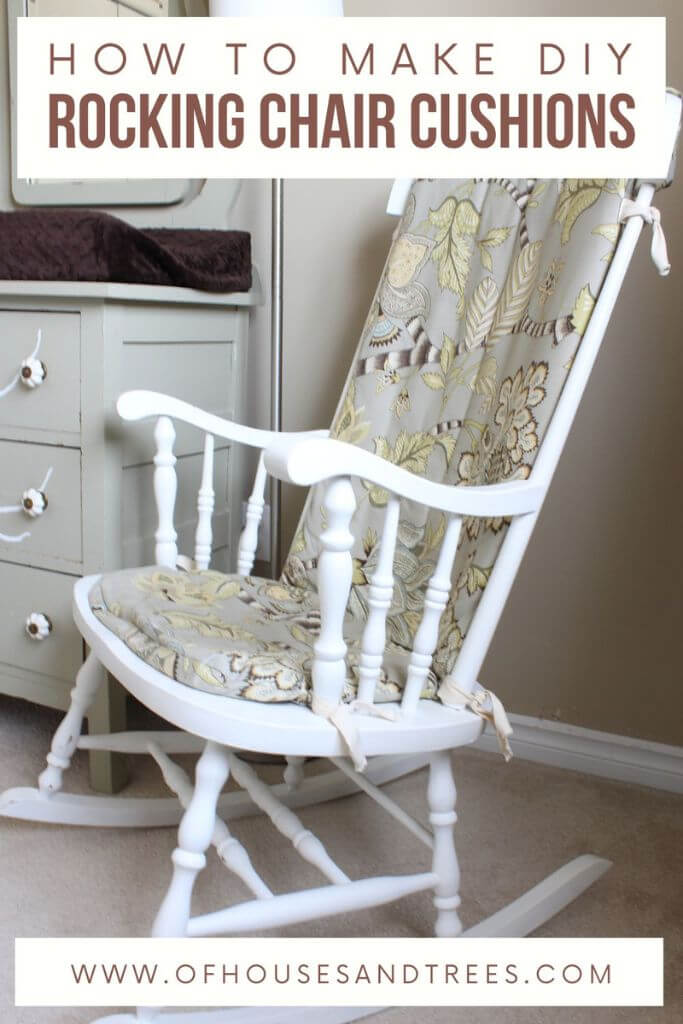
Prefer a vintage-inspired rocker to an oversized glider for your nursery? Learn how to make easy DIY wooden rocking chair cushions.
Sometimes fabric starts it all.
When I was working on my daughter’s room – before I knew she was a girl – I was looking for neutral colours and prints that didn’t conform to typical gender stereotypes. Because I’m difficult like that.
I’ll talk about my dislike of pink to anyone who will listen. I’m an earth-tones gal through and through.
So, when I saw this graphic floral with its greys and greens and browns I just knew I had to have it.
I had to have it so bad, in fact, that I forgot to check the price tag… oops.
You may recognize the fabric as the background for the baby superheroes artwork from my last post – so, I’d say I got my money’s worth. Even though this fabric features flowers, I don’t find it overly feminine.
It actually reminds me of Where the Wild Things Are. Something about the long, snaking, brown and beige vine. It looks like the tail of a beast who just disappeared around the corner…
As for the rocking chair itself – it took some convincing, but I talked Devin out of an oversized and overpriced glider in favour of a solid wood rocker by promising I’d make a DIY rocking chair cushion for it.
I just find gliders too big, too tacky and besides – what’s more eco-friendly? A brand new glider made of synthetic materials or a secondhand wooden rocking chair?
No brainer, right?
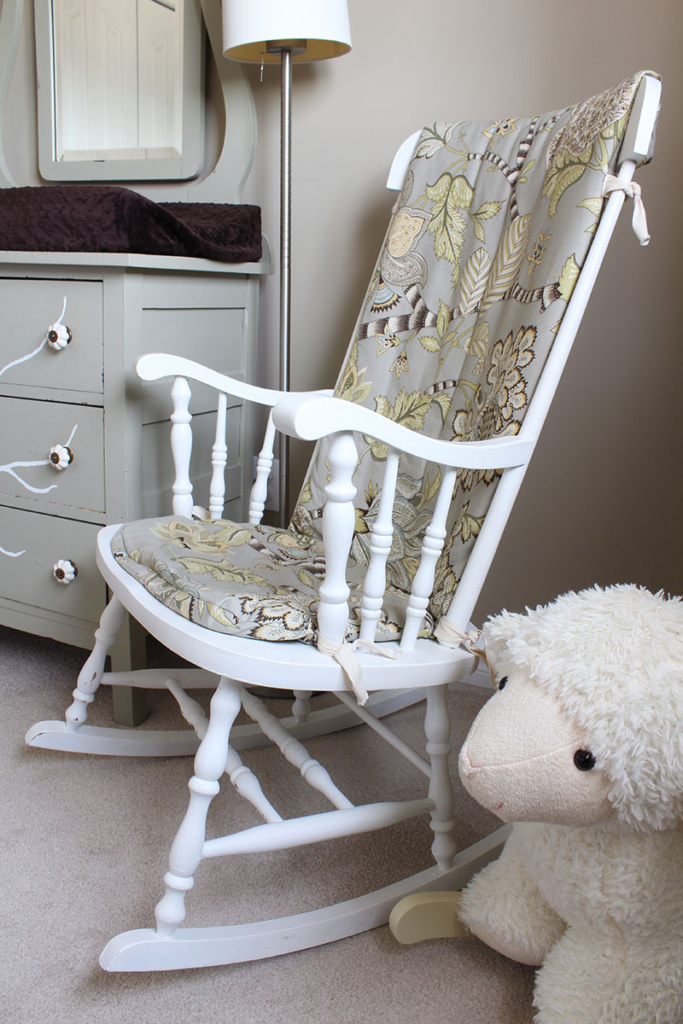
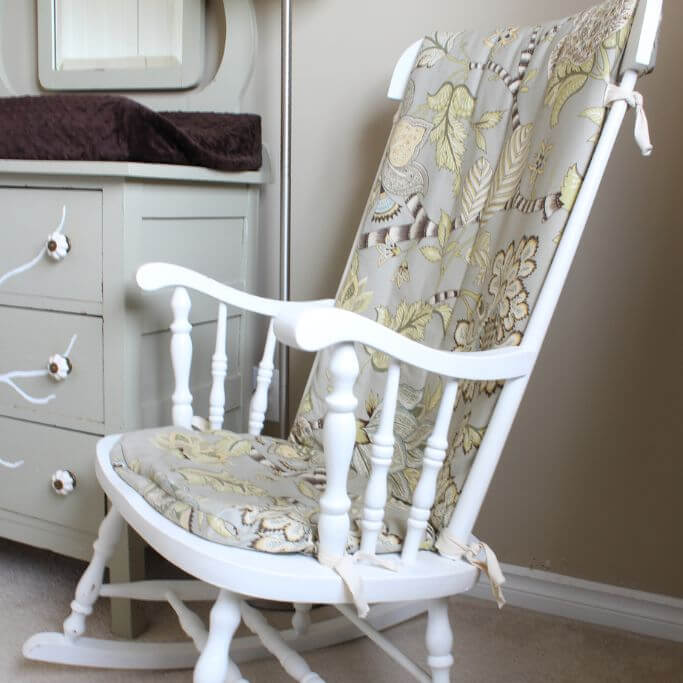
Finished Wooden Rocking Chair Cushion
All done!
And here’s the stool we built to go with the chair.

We much debated the height and width of this stool to provide optimum rocking assistance and I think it turned out perfectly. It also doubles as a little night stand for when I’m crashed on the cot next to the bundle’s crib. Let me know in the comments if you want a tutorial on how we made the stool!


Hope you love your DIY rocking chair cushions as much as I love mine! Leave a comment if you have specific questions about this tutorial!
PIN ME!
Last Updated on September 6, 2022 (Originally Posted on September 20, 2013)


How much fabric and batting would you purchase? I’m interested in making my own cushion and I would want thicker cushions. Your thoughts are appreciated as this is new to me!
Hi Amanda! I did the math based on my own cushion’s dimensions (the seat is 18″ x 14″ and the back is 18″ x 33″). Using those measurements and accounting for a cushion that is six layers thick (since you said you wanted yours thicker) then a twin-sized 93″ x 72″ cotton batting would be enough with a bit leftover. If you want even thicker than six layers or want extra in case of boo-boos then you could use two twin batts or go with a double or queen instead. Hope that helps and let me know if you have any other questions 🙂
Pingback:Highwood Lehigh Rocking Chair Reviews & Ratings 2020
I am very interested in making these cushions myself. Did you sew all the layers of the batting to the fabric at once? I would like to make my cushions a little thicker. And am I reading this correctly that you sew the two pieces of fabric together with the batting on top, and then flip the fabric the right side out (over the batting?) Did you sew any lines in the middle of your cushions to help hold the batting in place? Have you washed these at all? How did the hold up if so? (I am planning to wash mine…due to baby spit up!) Any help you can give would be great! Thank you!
Hi Tiffany! Thanks for stopping by 🙂 Yes I sewed all the layers at once – I didn’t pre-sew the batting together. And you are correct, the two layers of fabric are placed together with the top layer back side up and the underneath layer pattern side up, then the batting underneath. So the fabric sides that you want facing out will be facing each other while you sew. You then flip the whole thing inside out (or right side out) and sew the remaining side closed by hand. I have now had this rocking chair cover for seven years! I have never washed it in the machine, just spot washed by hand and it still looks great even though my younger daughter coloured on it with marker. I’m sure you could wash it on gentle or hand wash in the sink and it would be fine too. Let me know if you have any more questions!
You’re welcome! Thank you! I’ve had so many people tell me these cushions won’t be “thick or comfortable enough” while shopping for fabric and batting…so glad to hear yours have been holding up for seven years! That’s so awesome. Perfect!
I can’t tell in the photos…did you say if you had sewn and lines in the middle of the cushion to help the batting stay in place? (sort of like quilting it)
No I didn’t sew it across the middle – just around the edges. And you can add more layers of batting to make it cushier. Whatever works best for you 🙂
Thanks!
Definitely would love a tutorial on the stool as well! I’m doing the same thing, wanting to use a rocking chair from a thrift shop vs a glider!!! Love the idea of using older products and making things myself!
This looks perfect for my daughter’s rocking chair, soon to be used with my new grandbaby! I was also checking out the footstool. It looks perfect. Do you have instructions on how you made it?
Great tutorial- much easier than adding a zipper!
I’d really appreciate directions for the stool.
Thanks very much.
Thank you Lou! Glad it helped. I will ask my husband how he built the stool and then add it to the post – he basically just used some leftover plywood and 2x4s and then I placed the fabric over some batting on top of a piece of cardboard, wrapped it around and glued it all in place. It’s been 8 years and the rocking chair and stool are still in our daughters’ room!