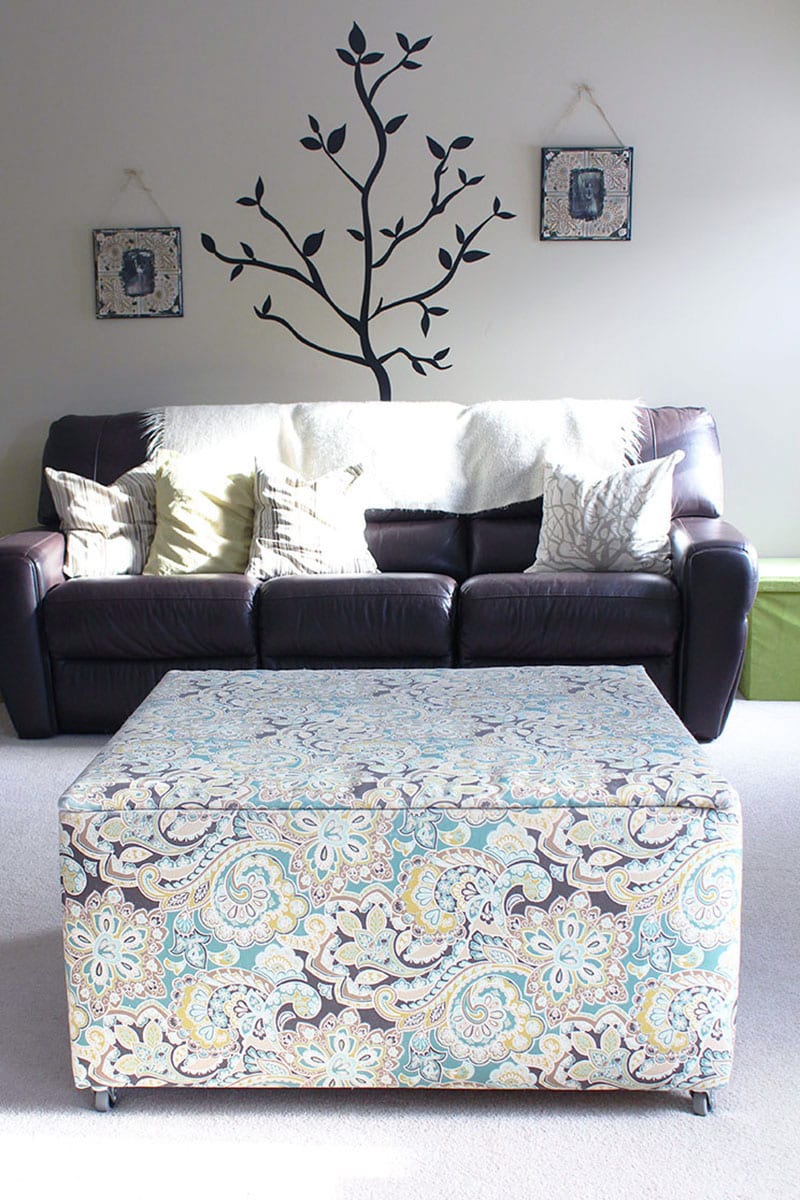
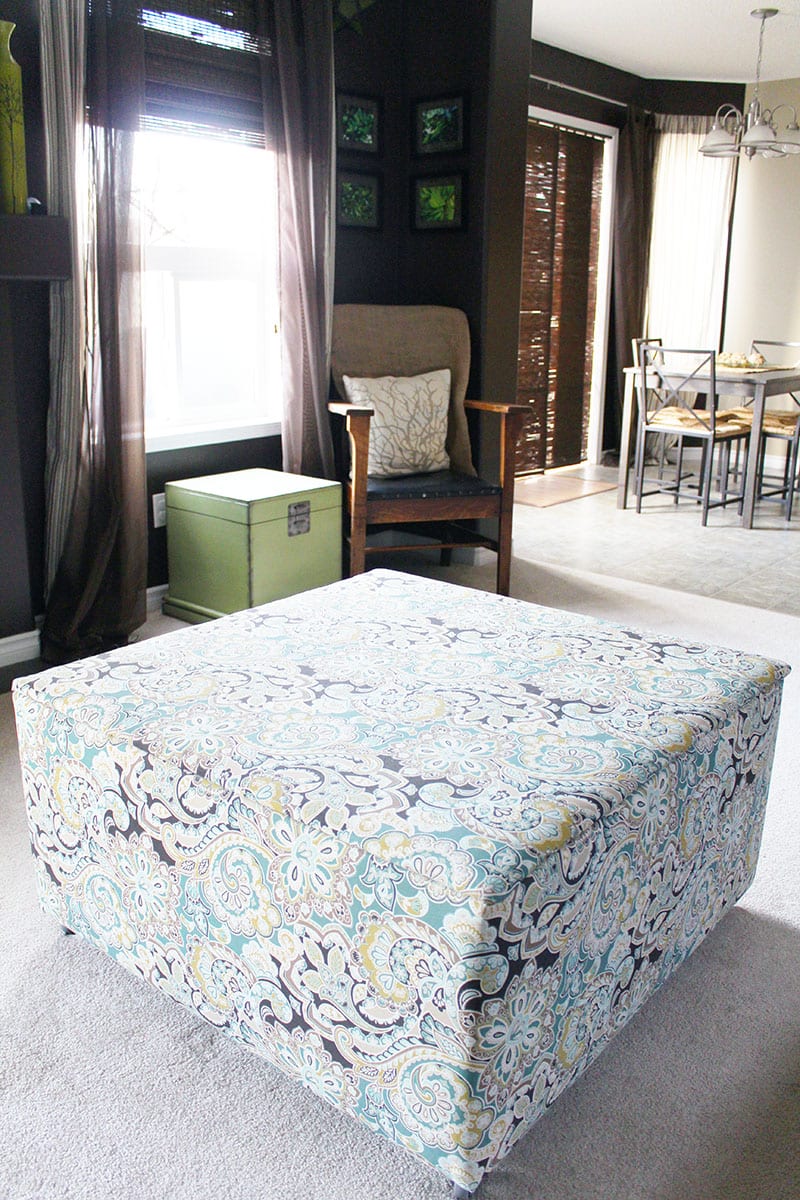
 I can’t take all the credit for this DIY project as my most loveable and talented husband was the one who actually built this ottoman toy box combo, but we did design it together (amidst much ruler waving and pencil scribbling) and I selected the fabric and foam padding and wrapped this bad boy (girl?) up.
As is usually the case, the task at hand was not quite as easy as I initially imagined because we wanted as few seams as possible and I couldn’t manage to wrestle all the fabric into my sewing machine facing in the correct direction. The answer? Hot glue gun.
It’s like the duct tape of DIYing… except duct tape is probably the duct tape of DIYing. So maybe it’s the duct tape of more delicate DIYing? (And yes, eco-friendly hot glue and eco-friendly duct tape are actual things!)Our only concern with a hot glue gunned seam was that our daughter would pick at it and it would come loose. After all, this rather large toy box was designed for her. Well, for her and her toys and her soft little baby head that kept smacking into our old solid wood coffee table. But the ottoman has been in service for over a month now and so far she hasn’t even noticed the seam. (Update: This ottoman toy box has been in commission for over three years now and I’m happy to report it has stood the test of time. We’ve also received a ton of compliments on it. So, if you like compliments… build one!)
What makes this project eco-friendly is that we did it ourself, mostly using supplies we already had at home. If you have to buy supplies, look for the greenest option available. That doesn’t always mean buying products labelled “eco-friendly.” Sometimes it means buying secondhand (check a site like kijiji for building supplies) and sometimes it means avoiding materials high in VOCs and solvents (as some paints and glues can be).
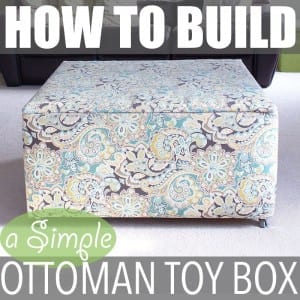
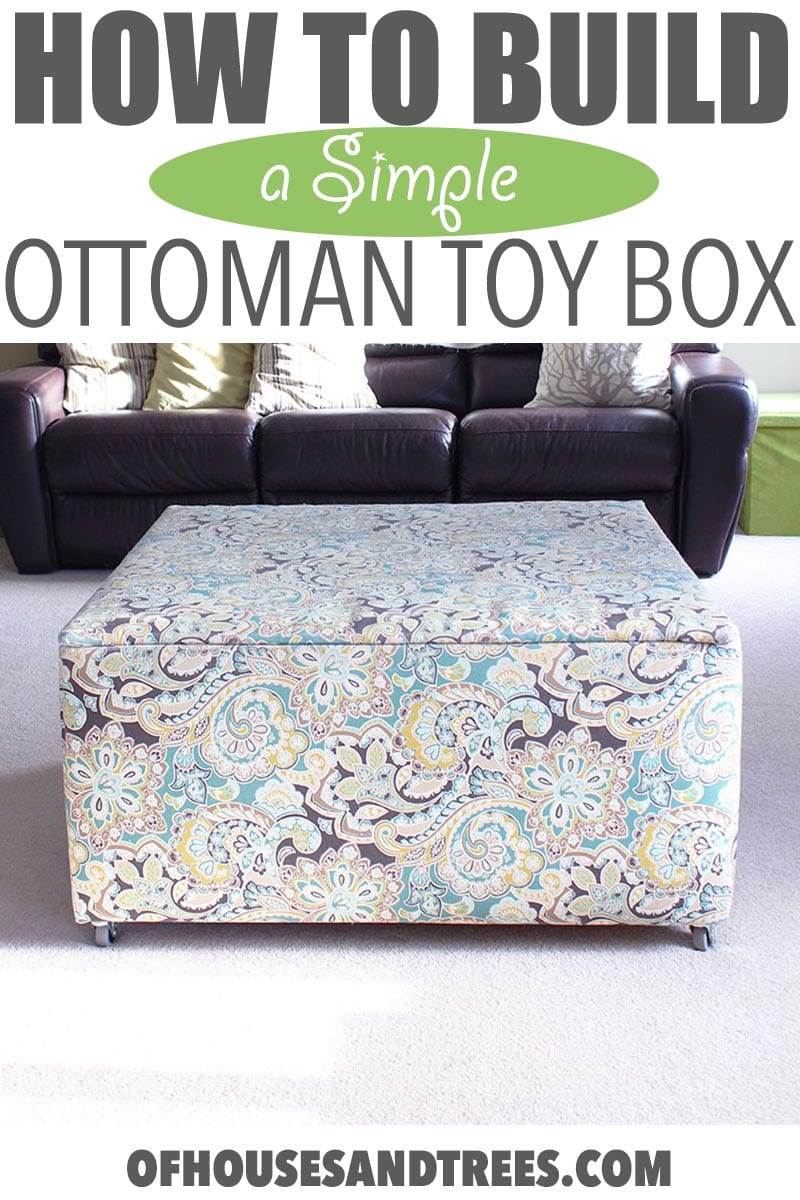
Here’s how to build your very own ottoman toy box! (Note that these measurements are for a 36″ wide x 36″ wide x 18″ deep toy box and are approximate. Make sure you measure everything carefully and make adjustments as needed.)
Supplies:
– 4 pieces of 36″ long 2 x 4 wood (for bottom frame)
– 4 pieces of 18″ x 36″ 3/4″ plywood (for sides)
– 2 pieces of 36″ x 36″ plywood (for bottom and lid)
– 8 pieces of 36″ long 2 x 2 wood (for top frame and lid frame)
– 1 piece of 40″ wide x 144″ long cotton batting (for sides)
– 1 piece of 40″ wide x 40″ wide cotton batting (for lid)
– 1 pieces of 72″ wide x 150″ long piece of fabric (for sides and inside, note that we used outdoor fabric so the ottoman would be less susceptible to spills)
– 3 pieces of 40″ wide x 40″ wide fabric
– 1 piece of 36″ wide x 36″ wide cardboard (if you can’t find a piece this big, you can glue or tape a few smaller pieces together)
– measuring tape
– staple gun and staples
– mitre saw
– drill and wood screws
– wood glue
– white paint (or another colour, try and use a no or low VOC brand)
– 4 sturdy wheels (you could also screw or glue on feet or just leave the ottoman toy box on the floor)
Directions:
1. Use the 4 pieces of 36″ long 2 x 4 wood plus the drill and screws to build a 4″ tall box frame (2 screws at each corner). There’s no need to mitre the corners of the frame as you won’t see this part. (Note that in order to create a perfect square, 2 of the 2 x 4 pieces are actually closer to 34″ in length, but this is the kind of thing you will notice if you measure carefully. Did I mention to measure everything carefully?)
2. Using the 4 pieces of 18″ x 36″ plywood, line up the bottom of each piece of plywood with the bottom of each side of the box frame and screw in place (approximately 2 screws on each side). You should now have a box with no top or bottom.
3. Wrap the cotton batting around the box making sure to cover the corners and edges. You can either staple or glue it in place. You don’t need to worry so much about seams as they won’t be visible once the fabric is on.
4. Fold about an inch of one of the shorter edges of the fabric back to create a straight crease and glue in place. (You may want to iron the crease first to make it easier to do so.) This will be where the fabric meets and creates the only visible seam on the ottoman. Our seam is in the middle of one of the sides.
5. Lay the fabric down on the floor and place the box on its side on top. There should be about 4″ of fabric running along the box’s bottom (where the 2 x 4’s are) and the rest should be up above, near the box’s top. Wrap the fabric up and around the sides and check where the seam will be. Adjust if necessary. Glue (or staple for extra security) the uncreased edge in place, then wrap the creased edge on top and glue that in place as well.
6. Wrap the 4″ portion of fabric over the 2 x 4’s and staple into place. Treat the corners as if you were wrapping a present to make everything nice and tight.
7. Move the box onto its bottom and tuck the rest of the fabric down inside the box. Staple the fabric against the top of the bottom’s frame, smoothing as you go. This part will be covered by the ottoman’s bottom piece of plywood so again, it doesn’t have to be too perfect.
8. Wrap one of the pieces of 36″ x 36″ plywood with a 40″ by 40″ piece of fabric, glueing the excess over the edges and onto the bottom. This is the bottom of the box, so it doesn’t need padding. Once done, slide it down into the box. It should rest nicely on top of the 2 x 4 frame. (This is an example of when measuring everything ahead of time is very important. If the piece of plywood is too big, it won’t fit!)
9. For the lid, wrap the second piece of 36″ x 36″ plywood with the 40″ x 40″ piece of cotton batting and glue in place. Cover the batting with the second piece of 40″ x 40″ fabric and glue in place. The top of the lid will look nice and finished, the bottom will still have a big space of plywood in the middle.
10. Cover the 36″ x 36″ piece of cardboard with the third and final piece of 40″ x 40″ fabric. Glue the covered cardboard overtop of the big space of plywood on the underside of the lid. (Our cardboard piece was actually a bit smaller than 36″ x 36″ so the edges would be hidden under the lid frame. See below.)
11. Use the mitre saw to angle the corners of all 8 pieces of 36″ long 2 x 2 wood. (In order for the lid frame to fit inside the ottoman it actually needs to be smaller than 36″ x 36″. Measure how much room you have on the inside of the box once the padding and fabric is on and go from there.) Glue the corners together with wood glue and let dry. Then, paint the frame and let that dry too.
12. Screw one of the 2 x 2 wood frames to the inside of the ottoman, about 2″ from the top. (Make sure your screws aren’t too long or they’ll poke through the fabric on the outside.) Screw the second 2 x 2 frame to the underside of the lid. If you measured everything correctly, the lid should easily slide on top of the ottoman, with the lid’s frame sitting right on top of the inner frame.
13. Flip the ottoman over and screw the wheels (or feet) on the bottom or leave as is. You’re done!
Have you every built an ottoman, toy box, or ottoman toy box combo? Any questions about the above design or process? Let me know in the comments!
Don’t forget to subscribe to have posts on sustainable design, sustainable living, sustainable eating – sustainable everything – delivered to your inbox!
—
Note that this post contains affiliate links, meaning if you click on a link and make a purchase a small percentage of the sale goes to yours truly. Please know that I only link to products that are good for the earth, good for the soul, or both!
—
PIN ME!
Posted September 26, 2014