Fall is a time of colourful leaves, crisp air and… DIY pumpkin crafts! Here’s how to make a DIY paper pumpkin from old book pages.
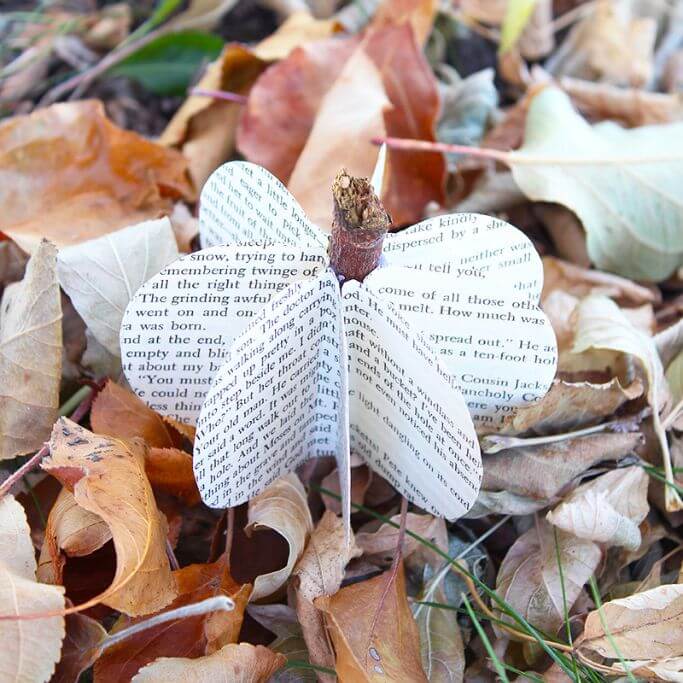
With Halloween fast approaching, and American Thanksgiving on its way, I keep seeing cute DIY pumpkin crafts everywhere. And I’m not talking about construction paper Jack-o-Lanterns. I’m talking about DIY pumpkin crafts for adults. Because adults like crafting too, you know? You can also add this project to the easy pumpkin crafts column. Adults may like to craft, but adults don’t usually got a lot of spare time.
Now, with the exception of Christmas, I’m not usually a seasonal decor kind of person.
I tend to keep things the same year-round, because it’s much more eco-friendly than buying a bunch of new stuff every time the weather changes. Plus, it takes a lot of extra time and effort to be constantly updating your decor.
For those of you who do it – and do it in an eco-conscious manner, ie: repurposing old items and materials, buying secondhand items – I salute you! But I’m just going stick to my nature-inspired holiday decor and my latest project – a DIY pumpkin made from old book pages. If this project sounds familiar it’s because I made DIY paper orbs from old book pages a few months ago. Now, I’m simply pilfering my own idea and using the same method to make a pumpkin!
Related Video
DIY Paper Pumpkin Supplies
– an old book (If you don’t have a bunch hanging around, check out thrift stores, garage sales, used book stores, or ask around. You could also use old newspaper, magazines, flyers – or any other paper product!)
– pumpkin template
– pencil (Pencils made from sustainably sourced wood here.)
– scissors (Scissors made from recycled materials here.)
– glue stick (Plant-based glue stick here.)
– hot glue gun and glue sticks (Eco-friendly glue gun sticks here.)
– several twigs (This is so you have a few different sizes to choose from, depending how big the centre of your pumpkin ends up being.)
How to Make a DIY Paper Pumpkin from Old Book Pages
For a video tutorial of my very similar book page paper orb project, go here.
1. Find a drawing of a pumpkin online to use as a template and print it out, making sure it’s no bigger than the text on the book pages you’re going to use. You could also draw one yourself. The important thing is that it’s symmetrical. If your template isn’t symmetrical, simply fold it in half and trim all the edges until they match.
2. Choose which pages of the book you want to use. Note that they don’t have to be pages that are printed on both sides as the back side won’t be showing. Gently pull or cut the pages out.
3. Begin tracing pumpkins on the pages. I made my pumpkin with eight pieces, but you could do more or less depending on the look you want. Try and fit more than one pumpkin per book page so as not to waste too much paper. (Consider saving the scraps for a future project. You never know when you’re gonna need book page scraps!)
4. Once you’re done tracing, cut the pumpkins out.
5. Fold each pumpkin so there’s a small flat piece in the centre of each. This is so that once they’re glued together, there will be room for the stem. The method I used was to fold one side over so it was about 1/8″ short of touching the opposite edge and then repeat on the other side. Make sure you keep the side of the page you want showing on the inside of the folded pumpkin.
6. Use the glue stick to begin gluing the outsides of the folded pumpkins together, working all the way around until the last pumpkin has been glued on. Make sure you don’t glue the last pumpkin to the first yet as you still need to glue in the twig.
7. Pick a twig that fits in the centre of your pumpkin. (If you don’t have one that’s thick enough, you could glue a few smaller ones together.) Decide how long you want your pumpkin stem to be and cut it. I cut mine so the bottom is flush with the pumpkin and the top sticks up about 3/4″.
8. Use the hot glue gun to glue the twig to the centre of your pumpkin. Fold the rest of the pumpkin around the twig and use the glue stick to glue the last two folded pumpkins together. If needed, squirt a bit of hot glue down into the centre between the twig and the pumpkin and press together. Display in all its pumpkin-y glory!
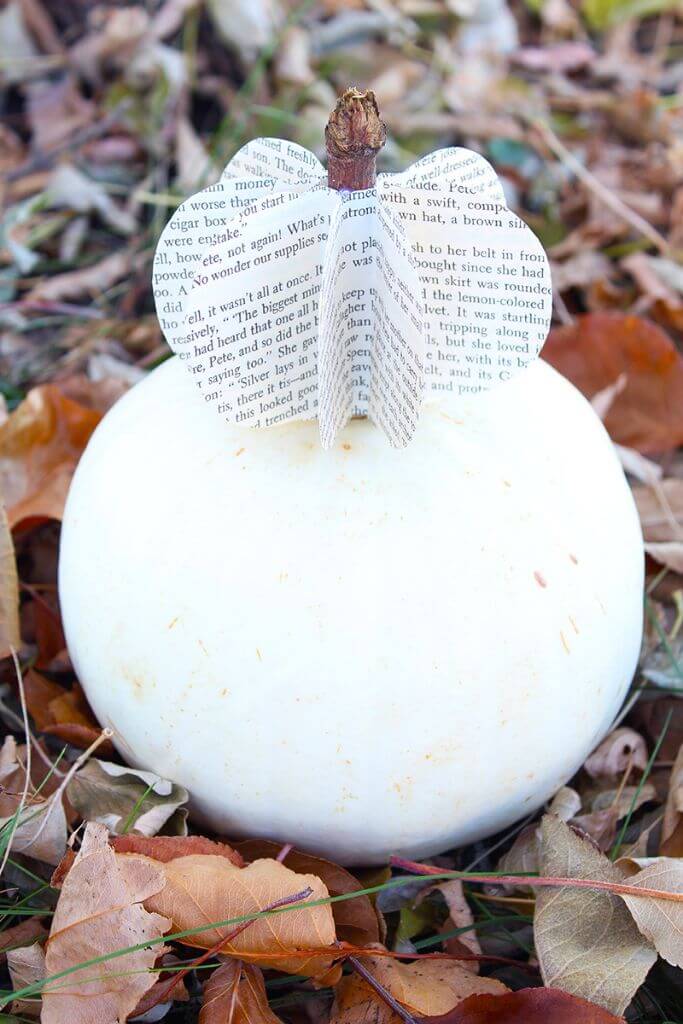
No Time to DIY? Handmade Paper Pumpkins You Can Buy
And there you have it! Hope you have fun making paper pumpkins! To see how I like to decorate for fall, visit my post featuring three of my simple fall decor ideas.
PIN ME!
Last Updated on October 22, 2024 (Originally Posted on October 23, 2018)
Former architectural technologist. Current treehugger.
I’m here to help you green your home – and your life.
Subscribe to the Of Houses and Trees monthly newsletter and I’ll send you my FREE list of “The 8 Best Places to Buy Eco-Conscious Decor Online.”
What on earth is sustainable design? Learn all about this eco-focused design method and read the latest posts about green architecture, interior design and decor.
Sustainable living is more than just a thing treehuggers talk about. It’s about making conscious choices everyday. Read the latest posts on living with the planet’s wellbeing always in mind.
Visit the Of Houses and Trees sustainable product directory and support brands trying to make a difference in the world.
Find out more about our 40 acres of land in Parkland County, Alberta and the sustainable home we built amongst the trees.
Need help creating the home of your dreams? Care about the planet? You’ve come to the right place! check out my affordable, sustainable e-design services.
Having a had time choosing paint colours? I’ve got you – and your walls – covered with an interior paint palette sure to compliment your home.
Have questions about creating an eco-conscious home? Go ahead – ask me! Sign up for one of my free online interior design consultations and ask me anything you want.
